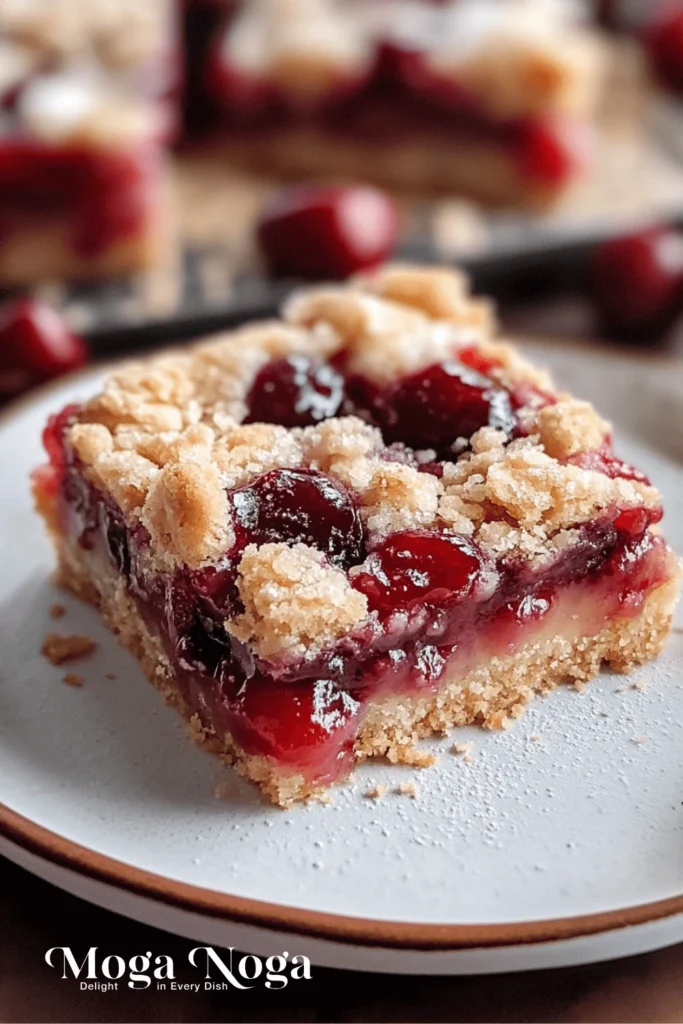
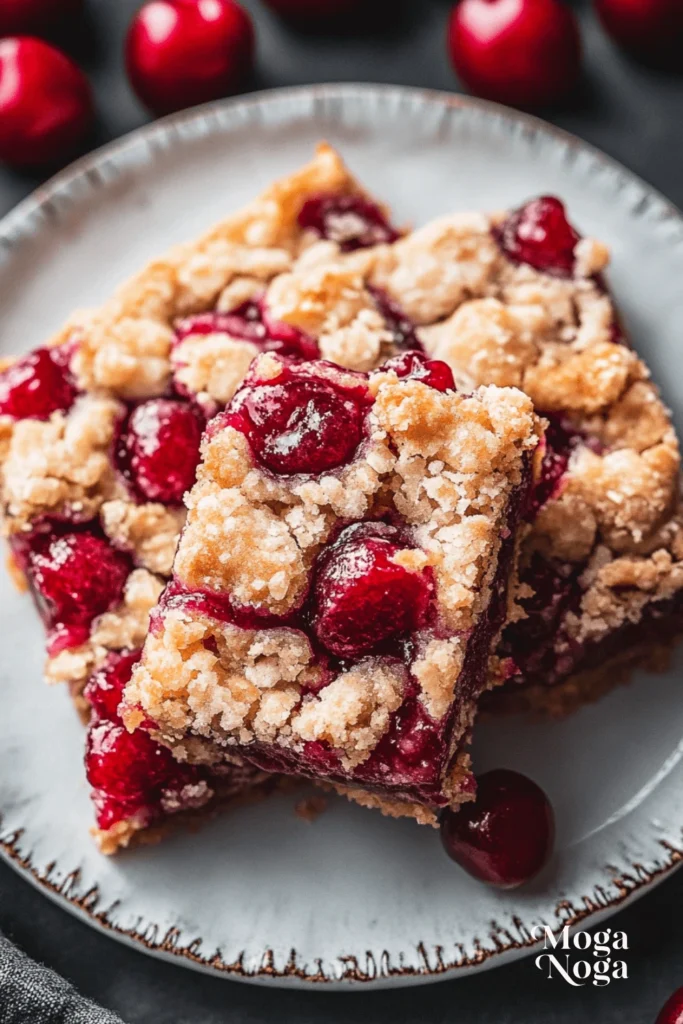
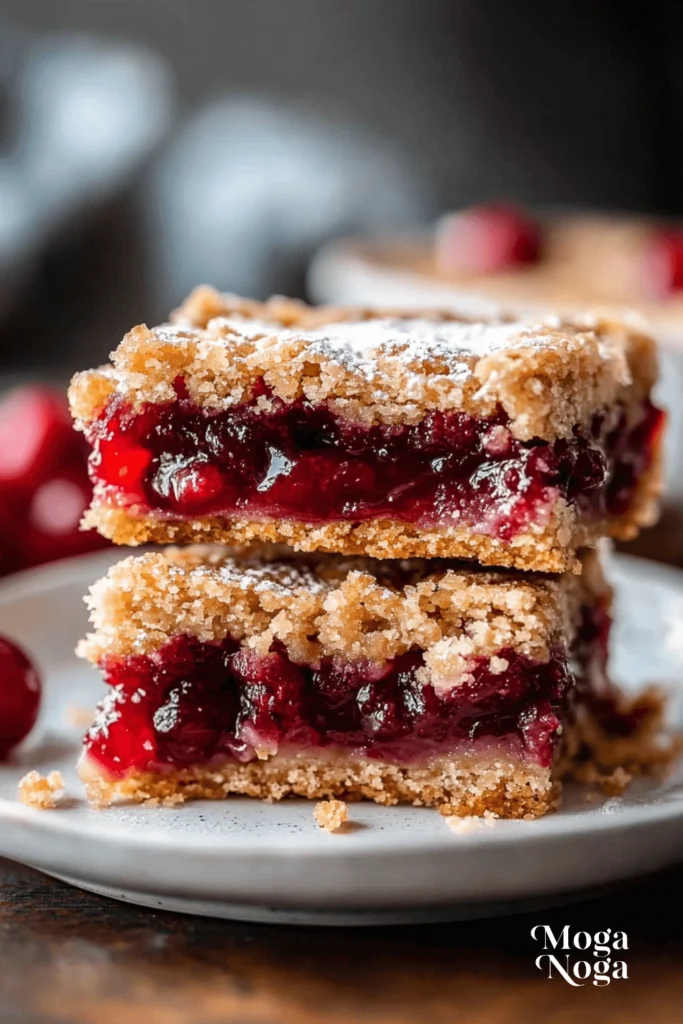
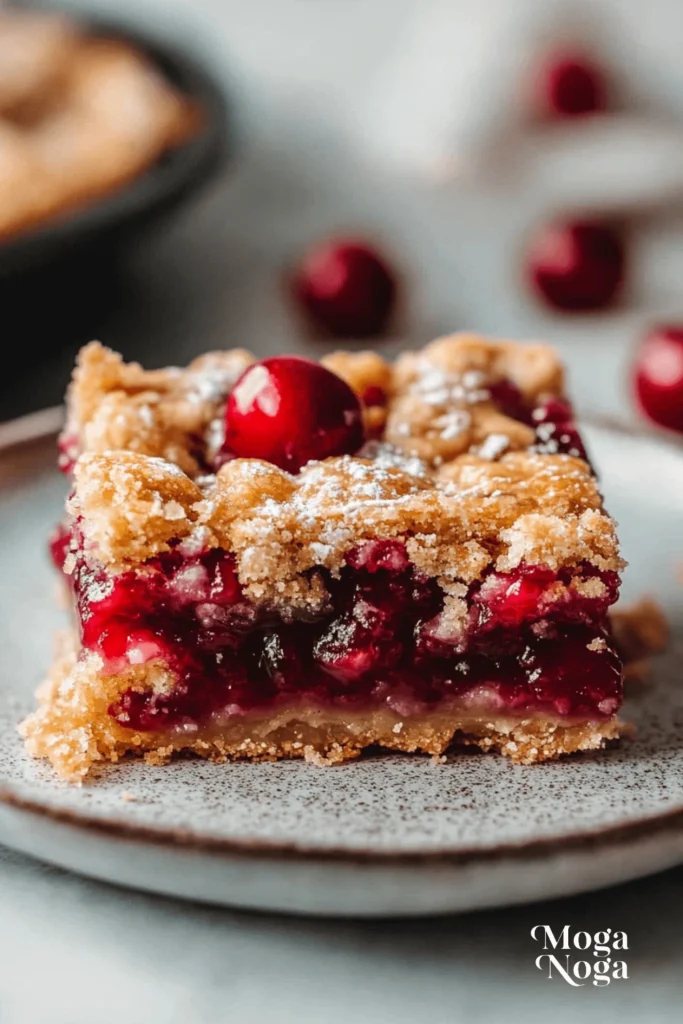
When it comes to desserts that combine nostalgia and modern convenience, cherry pie bars top the list; this delightful treat offers all the flavor of a classic cherry pie but in a form that’s easy to make, serve, and enjoy. Whether you’re hosting a party, treating your family, or satisfying your sweet tooth, cherry pie bars are the perfect solution. In this article, we’ll explore every detail about this dessert, from ingredients and preparation to tips and variations. By the end, you’ll be ready to bake your irresistible batch!
Table of Contents
Why You’ll Love This Recipe
Something is amazing about cherry pie bars that make them stand out as a dessert. Here’s the reason you’ll fall in love with this recipe:
- Easy to Make: In contrast to traditional cherry pie that requires precise crust making and shaping the pie, these bars are simple to make. Even beginners can produce excellent results.
- Perfect for Sharing: These bars are ideal for potlucks, picnics, and holiday gatherings. Cut them into squares or rectangles, and they’re ready to serve without utensils.
- Flavorful and Versatile: The tartness of cherries pairs perfectly with a buttery, crumbly crust. You can customize the recipe with different toppings or fillings.
- Year-Round Appeal: This recipe is not limited to cherry season. It can be made with canned cherry pie filling or frozen cherries. Enjoy it anytime you crave a fruity dessert.
The combination of sweet and tart, along with the crumbly texture, ensures these bars will be a crowd favorite every time.
Detailed Ingredients and Instructions
Let’s break down the recipe step by step so you can recreate these cherry pie bars with ease.
Ingredients
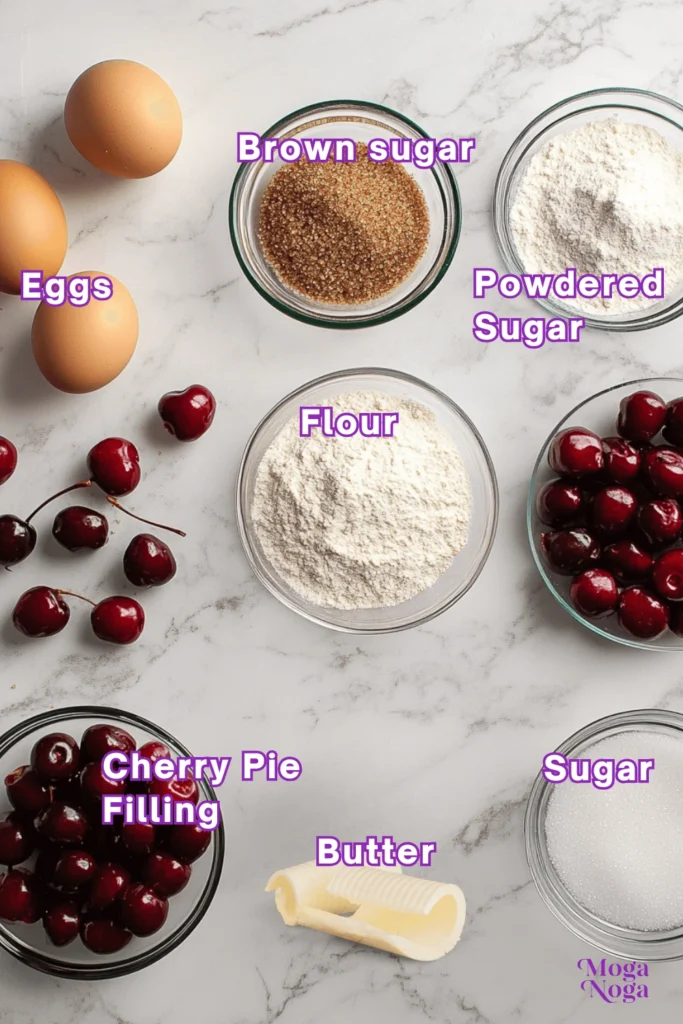
To make cherry pie bars, you’ll need the following:
- Butter: Softened, unsalted butter forms the base of the crust and crumb topping.
- Granulated Sugar: Adds sweetness to balance the tartness of the cherries.
- Eggs: Helps bind the crust and provide structure.
- Vanilla Extract: Enhances the flavor and adds depth.
- All-Purpose Flour: The foundation for the crust and topping.
- Salt balances sweetness while enhancing your overall flavor.
- Cherry Pie Filling is the highlight of the evening. You can make it using canned, frozen, or homemade filling made of cherries.
Instructions
- Preheat Your Oven: Set your oven to 350°F (175°C) and line a 9×13-inch baking dish with parchment paper or grease it lightly.
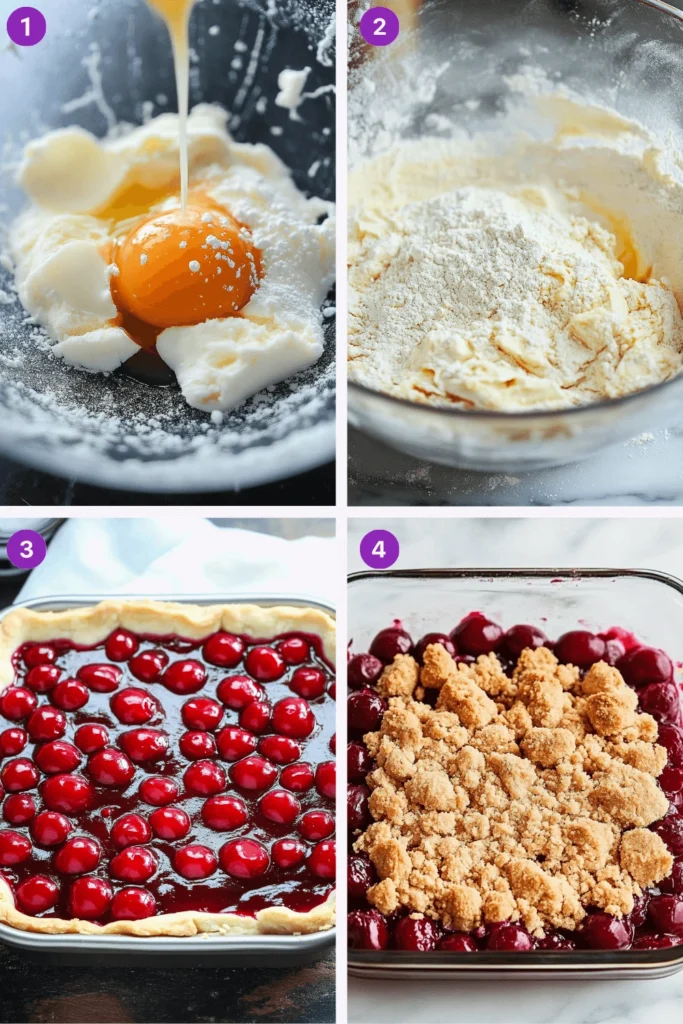
- Make the Dough: In a mixing bowl, cream the butter and sugar together until light and fluffy. Beat in the eggs, one at a time, followed by the vanilla extract. Gradually add the flour and salt, mixing until just combined.
- Layer the Crust: Press about two-thirds of the dough evenly into the bottom of the prepared baking dish to form the crust.
- Add the Filling: Spread the cherry pie filling evenly over the crust. Make sure to cover the surface completely.
- Top with Crumble: Crumble the remaining dough over the cherry filling. You can make small clusters for a rustic look.
- Bake: Place the dish in the preheated oven and bake for 30–35 minutes, or until the top is golden brown and the filling is bubbling.
- Cool and Slice: Let the bars cool completely in the pan before slicing them into squares or rectangles.
These simple steps ensure you end up with a dessert that’s as delicious as it is beautiful.
Tips, Variations, and Storage Options
Tips for Success
- Chill the Dough: If the dough is too sticky, refrigerate it for 15–20 minutes before pressing it into the pan.
- Use Quality Ingredients: Opt for pure vanilla extract and high-quality cherry pie filling for the best flavor.
- Watch the Baking Time: Check the bars a few minutes before the timer goes off to prevent overbaking.
Variations
- Add a Drizzle: Top the cooled bars with a drizzle of vanilla glaze or melted chocolate.
- Change the filling: Substitute the cherry filling with blueberry, apple, or raspberry for a unique variation.
- Incorporate nuts: Sprinkle chopped pecans or almonds in the crumble topping to add crunch.
Storage Options
- Room Temperature: Store the bars in an airtight container for up to 2 days.
- Refrigeration: For extended freshness, refrigerate them for up to a week.
- Freezing: Wrap individual bars in plastic wrap and freeze them for up to 3 months. Thaw at room temperature before serving.
Equipment Needed
To make cherry pie bars, you don’t need an extensive collection of kitchen gadgets. These essential tools will get the job done effortlessly:
- Mixing Bowls: At least two bowls are needed—one for the dough and another for prepping additional ingredients.
- Hand Mixer or Stand Mixer: Creaming the butter and sugar is easier with an electric mixer, but you can use a whisk and some elbow grease if necessary.
- 9×13-inch Baking Dish: This size is perfect for creating bars with the right thickness.
- Parchment Paper or Non-Stick Spray: This helps prevent sticking and makes cleanup a breeze.
- Spatula or Offset Spreader: This is used to spread the cherry filling and dough evenly.
By using these essential tools, you’ll be ready to whip up this dessert in no time.
Related Recipes
If you love the idea of cherry pie bars, you’ll likely enjoy these similar desserts as well. Here are some ideas to inspire your next baking adventure:
- Blueberry Crumb Bars: These are a close cousin of cherry pie bars, and they are made with sweet and juicy blueberry filling.
- Peach Cobbler Squares: A warm, spiced dessert that pairs the summery flavor of peaches with a buttery crumble.
- Apple Pie Bars: Perfect for fall, these bars deliver the comfort of apple pie in a convenient, portable form.
- Strawberry Shortbread Bars: These bars, with a buttery shortbread crust and fresh strawberry filling, are a summertime favorite.
Each of these recipes shares the ease and appeal of cherry pie bars while bringing a unique flavor to the table.
Cherry Pie Bars for Special Diets
While the original recipe is rich and indulgent, it’s easy to adapt cherry pie bars to fit different dietary needs. Here are some ideas to accommodate specific preferences or restrictions:
Gluten-Free Version
Substitute all-purpose flour for the gluten-free 1:1 baking flour blend. Verify that all other ingredients, such as vanilla extract or pie filling, are gluten-free, too.
Dairy-Free Version
You can substitute butter with plant-based alternatives, such as coconut oil or vegan butter. The result will be a bit crumbly and rich.
Vegan Version
For a fully vegan dessert, use dairy-free butter and replace eggs with flaxseed eggs. To make a flaxseed egg, mix one tablespoon of ground flaxseed with three tablespoons of water and let it sit until it thickens.
Low-Sugar Version
You can opt for a reduced-sugar cherry pie filling or make your filling using fresh cherries and a sugar substitute like stevia or erythritol. You can also reduce the sugar in the crust and crumble topping.
With these substitutions, cherry pie bars can be enjoyed by nearly everyone, regardless of dietary restrictions.
Fun Ways to Decorate Cherry Pie Bars
Presentation can elevate any dessert, and cherry pie bars are no exception. Here are some simple yet impactful ways to dress them up:
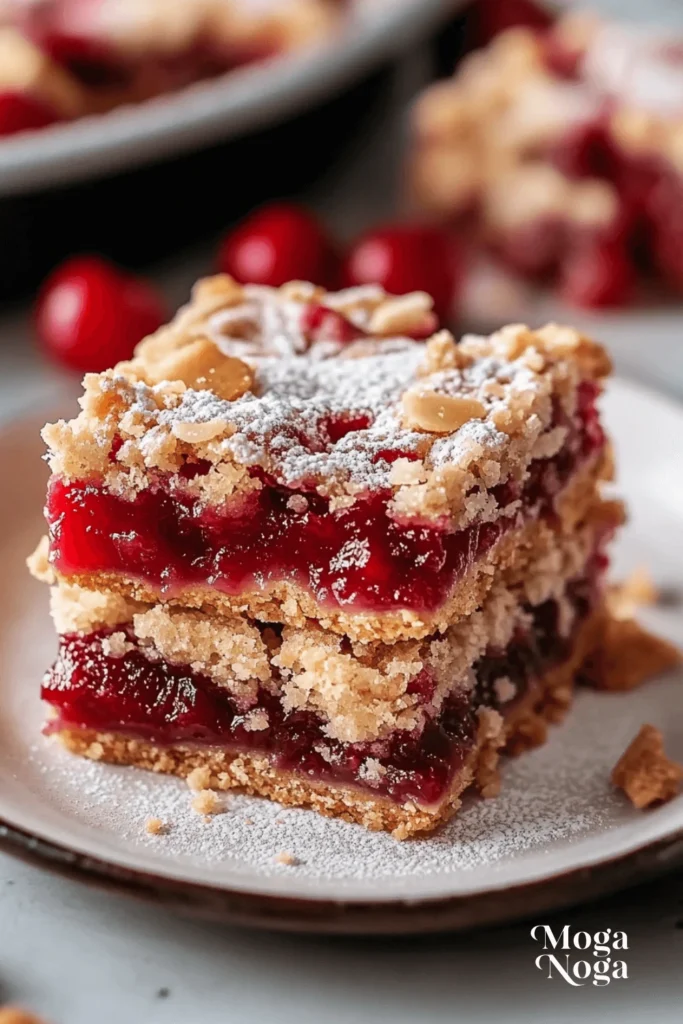
- Powdered Sugar Dusting: Sprinkle a light layer of powdered sugar over the bars for an elegant finish.
- Drizzle of Icing: Combine powdered sugar with milk or lemon juice to create a simple glaze, then drizzle it over the bars in a zigzag pattern.
- Chocolate Drizzle: Melt dark or white chocolate and drizzle it over the cooled bars for a luxurious touch.
- Fresh Fruit Garnish: For a colorful and fresh look, place a few fresh cherries or berries on top of each bar.
- Edible Glitter: For festive occasions, add a subtle sparkle to your dessert by using edible glitter or luster dust.
These decorative touches make the bars visually appealing and even more enjoyable to serve.
Pairing/Serving Suggestions
Cherry pie bars are a versatile dessert that can stand alone or pair beautifully with other treats and beverages. Here are some serving ideas to elevate your experience:
- A Scoop of Vanilla Ice Cream: The creamy ice cream contrasts wonderfully with the warm, crumbly bars.
- Whipped Cream: A dollop of homemade whipped cream adds a light and airy touch.
- Coffee or Tea: Pair these bars with a hot cup of coffee or black tea for a cozy afternoon snack.
- Sparkling Water or Lemonade: Serve with a refreshing drink to balance the sweetness during warm weather.
- Dessert Platter: Serve cherry pie bars alongside brownies, cookies, and fruit for a dessert spread that will please all tastes.
These pairings ensure your dessert feels complete and satisfying, whether you’re hosting guests or enjoying it solo.
Frequently Asked Questions
Here are answers to some common questions about making and serving cherry pie bars:
Can I use fresh cherries instead of canned filling?
Absolutely! Pit and halve fresh cherries, then cook them with sugar, a bit of water, and cornstarch to create a homemade filling.
What’s the best way to prevent the bars from sticking to the pan?
Lining your baking dish with parchment paper ensures easy removal. If you don’t have parchment paper, a generous coating of non-stick spray will work.
How do I know when the bars are done baking?
Look for a golden-brown crust and bubbling cherry filling. You can also insert a toothpick into the crumble topping—if it comes out clean or with a few crumbs, the bars are ready.
Can I double the recipe?
Yes, you can double the ingredients and bake the bars in two separate pans or a larger sheet pan if your oven allows.
Are these bars gluten-free?
The recipe, as written, is not gluten-free, but you can substitute the all-purpose flour with a 1:1 gluten-free flour blend to make it suitable for gluten-sensitive individuals.
Can I make these bars ahead of time?
Yes! These bars taste just as good, if not better, after resting overnight. Store them in an airtight container and enjoy them the next day.
Nutrition Information
While cherry pie bars are a delightful indulgence, it’s helpful to know their nutritional profile. Below is an approximate breakdown per serving (based on a 2×2-inch square):
- Calories: 250
- Protein: 2g
- Carbohydrates: 36g
- Fat: 10g
- Saturated Fat: 6g
- Fiber: 1g
- Sugar: 22g
This information is meant as a general guide and may vary depending on ingredient brands and portion sizes. Remember, desserts like cherry pie bars are best enjoyed in moderation as part of a balanced diet.
Seasonal and Occasion Variations
One of the best things about cherry pie bars is their versatility. With a few tweaks, you can adapt this recipe to suit any season or special occasion. Here are some creative ideas:
Spring Celebrations
- Include a bit of lemon zest on the pie and fillings to intensify the fresh spring flavors.
- Decorate the bars with edible flowers, such as violets or pansies, to create an elegant display.
Summer Picnics
- Swap cherry pie filling for mixed berry filling featuring strawberries, blueberries, and raspberries.
- Serve the bars chilled with a scoop of lemon sorbet for a refreshing treat.
Autumn Gatherings
- Incorporate warm spices like cinnamon, nutmeg, or cardamom into the crumble topping for a cozy, seasonal twist.
- Pair the bars with a spiced apple cider for a quintessential fall flavor combination.
Winter Holidays
- Drizzle the bars with white chocolate and sprinkle with crushed peppermint candy for a festive touch.
- Use a combination of cherries and cranberries for a tart and vibrant holiday filling.
Special Occasions
- For Valentine’s Day, cut the bars into heart shapes and dust them with powdered sugar.
- For a baby shower or birthday, add colorful sprinkles to the crumble topping.
With these variations, you can enjoy cherry pie bars throughout the year, tailored to the flavors and themes of each season.
My Recipe Tips
To ensure your cherry pie bars turn out perfectly every time, here are some pro tips and tricks:
1. Choose the Right Butter
For the best flavor, use high-quality, unsalted butter. If you only have salted butter, reduce the added salt by half in the recipe.
2. Chill the Dough if Necessary
If the dough feels too soft or sticky to work with, refrigerate it for 15–30 minutes. This makes it easier to handle and press into the baking dish.
3. Avoid Overmixing
When combining the dough ingredients, mix just until incorporated. Overmixing can lead to a tough crust instead of a tender, crumbly texture.
4. Customize the Sweetness
If you prefer a less sweet dessert, use tart cherry pie filling or reduce the sugar slightly in the dough.
5. Let the Bars Cool Completely
Patience is key! Allow the bars to cool completely before cutting. This ensures clean edges and prevents the filling from oozing out.
6. Experiment with Texture
For added crunch, mix in oats or chopped nuts into the crumble topping. This adds depth to the texture and flavor.
Following these tips will help you achieve bakery-worthy results, no matter your baking experience.
Conclusion
Cherry pie bars are the ultimate dessert for anyone who loves the classic taste of cherry pie but prefers a more convenient and shareable option. With their buttery crust, tart cherry filling, and crumbly topping, these bars strike the perfect balance of flavors and textures. Whether you’re making them for a holiday gathering, a casual family dinner, or to treat yourself, they’re sure to become a go-to recipe in your collection.
With the detailed ingredients and instructions, tips, and creative variations shared in this article, you’re now equipped to bake the perfect batch of cherry pie bars. Why not try them out today and enjoy the delicious results? And if you’re looking for more inspiration, don’t forget to explore related recipes like blueberry crumb bars and apple pie bars for even more delightful baking ideas. Happy baking!
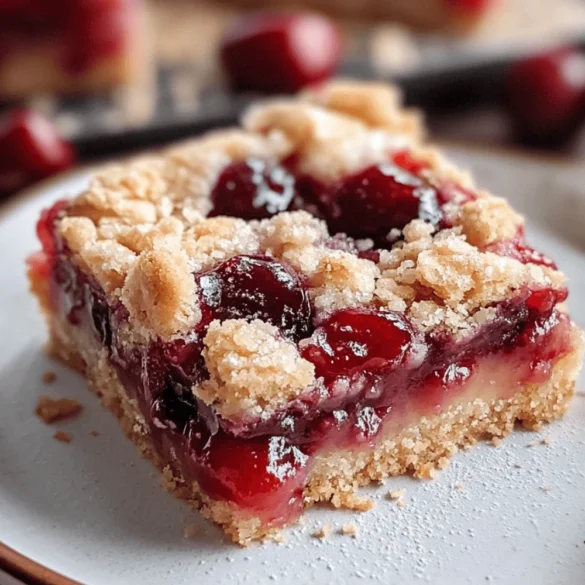
🍒 Cherry Pie Bars 🍰✨
Ingredients
For the Base and Topping:
- 1 cup (230g) unsalted butter, softened
- 1 3/4 cups (350g) granulated sugar
- 4 large eggs
- 1 teaspoon vanilla extract
- 3 cups (375g) all-purpose flour
- 1/2 teaspoon salt
For the Filling:
- 1 can (21 ounces) cherry pie filling
For the Glaze (Optional):
- 1 cup (120g) powdered sugar
- 2 tablespoons milk
- 1/2 teaspoon almond extract (optional)
Instructions
- Preheat the Oven: Preheat your oven to 350°F (175°C). Grease and line a 9x13-inch baking pan with parchment paper.
- Make the Base and Topping: In a large mixing bowl, beat the softened butter and sugar together until light and fluffy. Add the eggs, one at a time, mixing well after each addition. Stir in the vanilla extract.
- Add Dry Ingredients: Gradually mix in the flour and salt until just combined. The batter will be thick.
- Assemble the Bars: Spread 2/3 of the batter evenly into the prepared baking pan. Top with the cherry pie filling, spreading it out evenly. Drop spoonfuls of the remaining batter over the cherry layer.
- Bake: Bake in the preheated oven for 35-40 minutes, or until the top is golden brown and set. Remove from the oven and let cool completely in the pan.
- Prepare the Glaze (Optional): In a small bowl, whisk together powdered sugar, milk, and almond extract until smooth. Drizzle the glaze over the cooled bars.
- Slice and Serve: Cut into squares or bars and serve. Store leftovers in an airtight container at room temperature for up to 3 days.

