Introduction
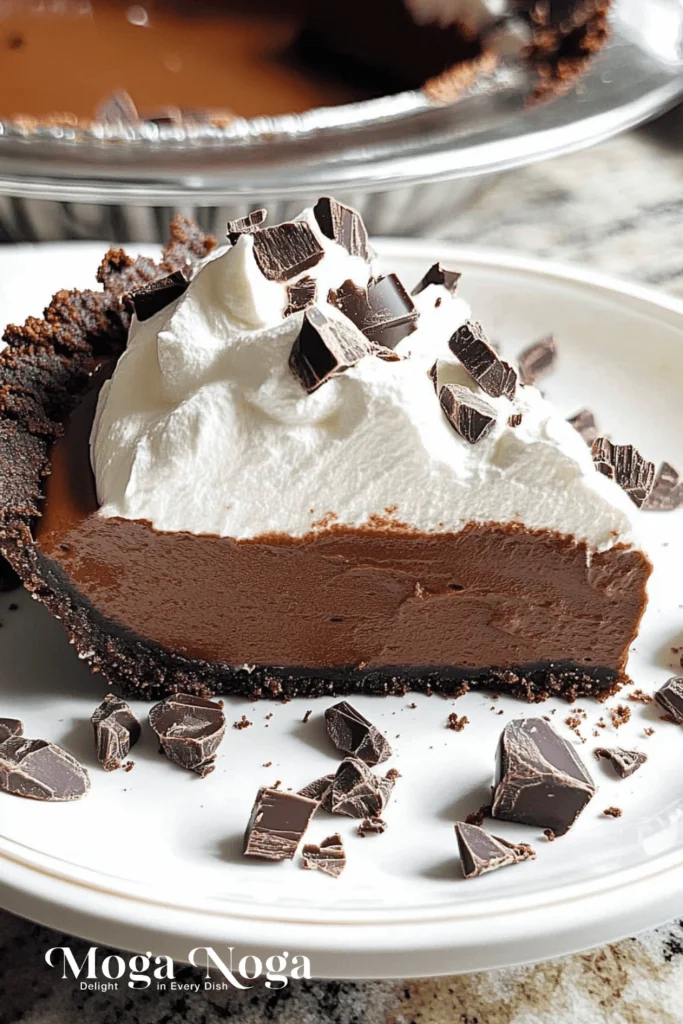
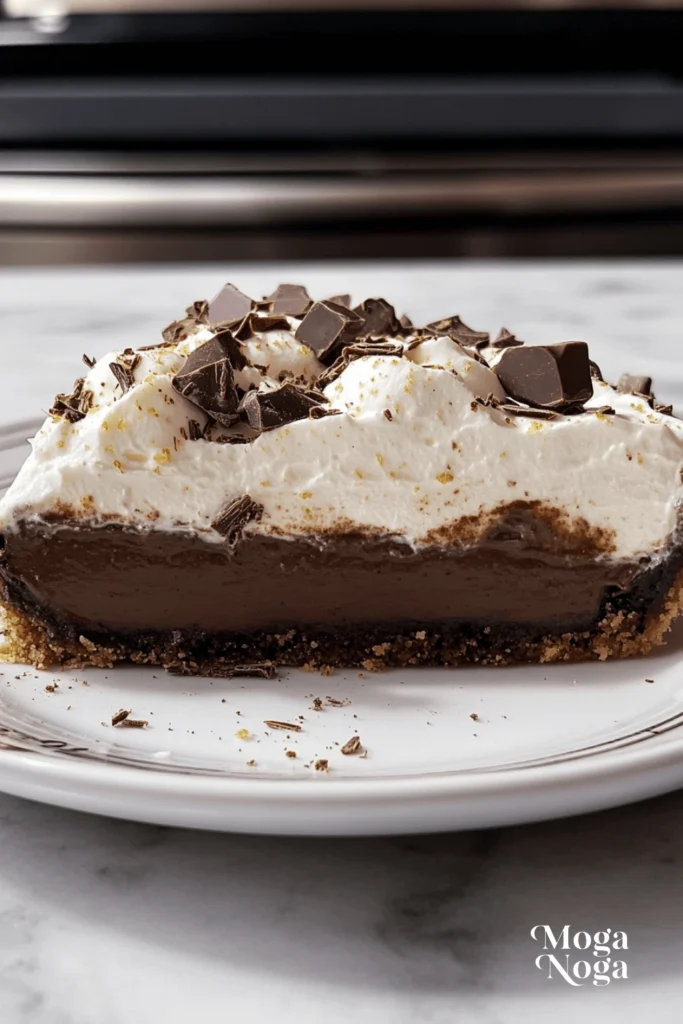
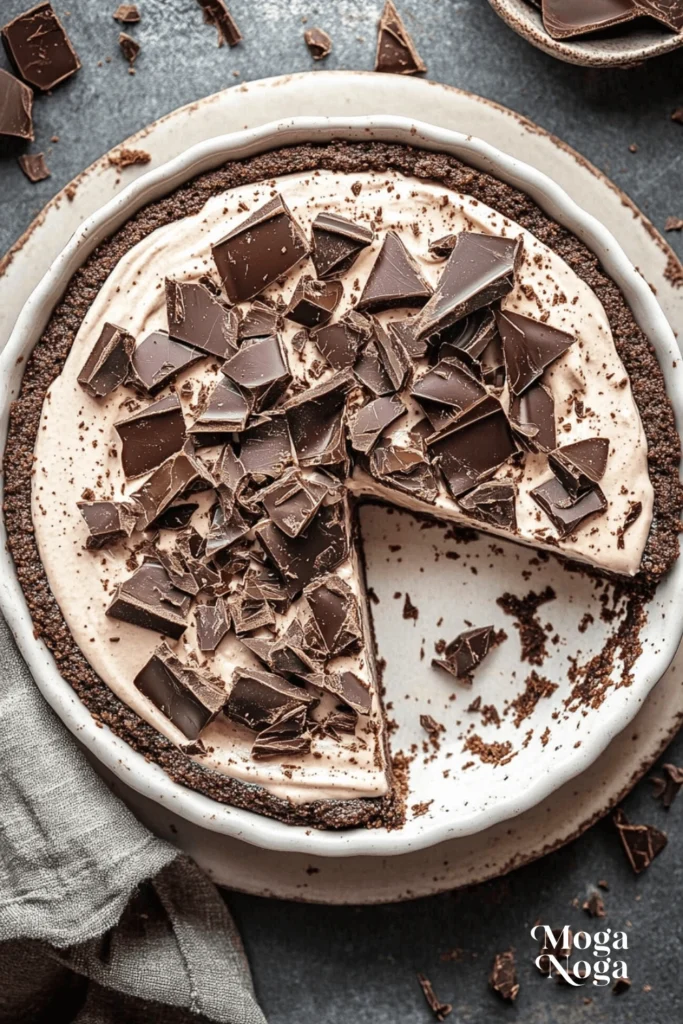
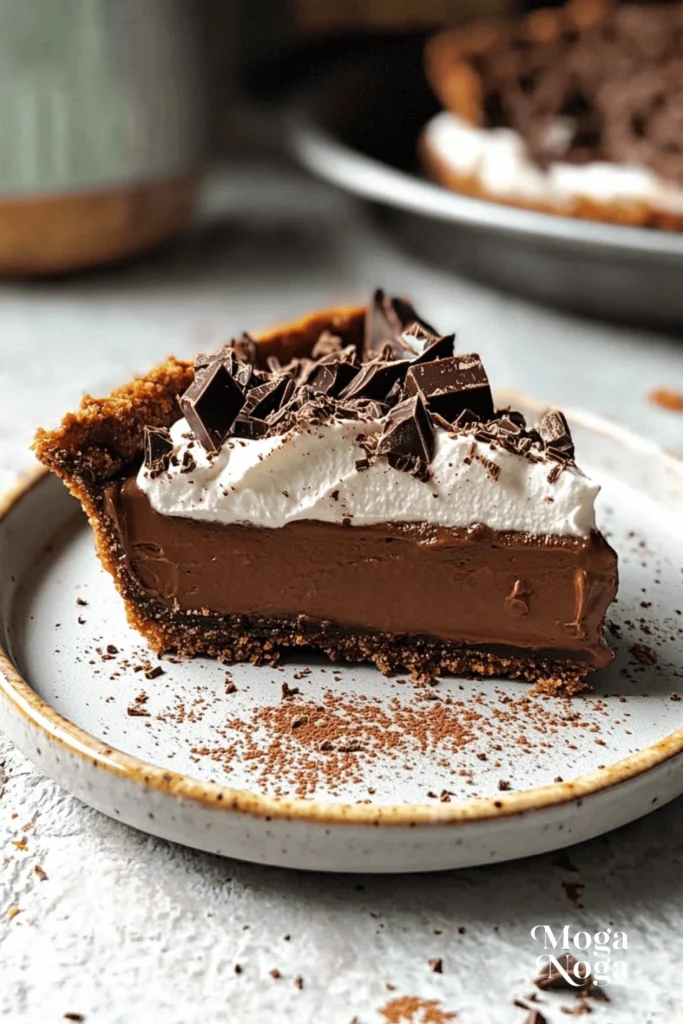
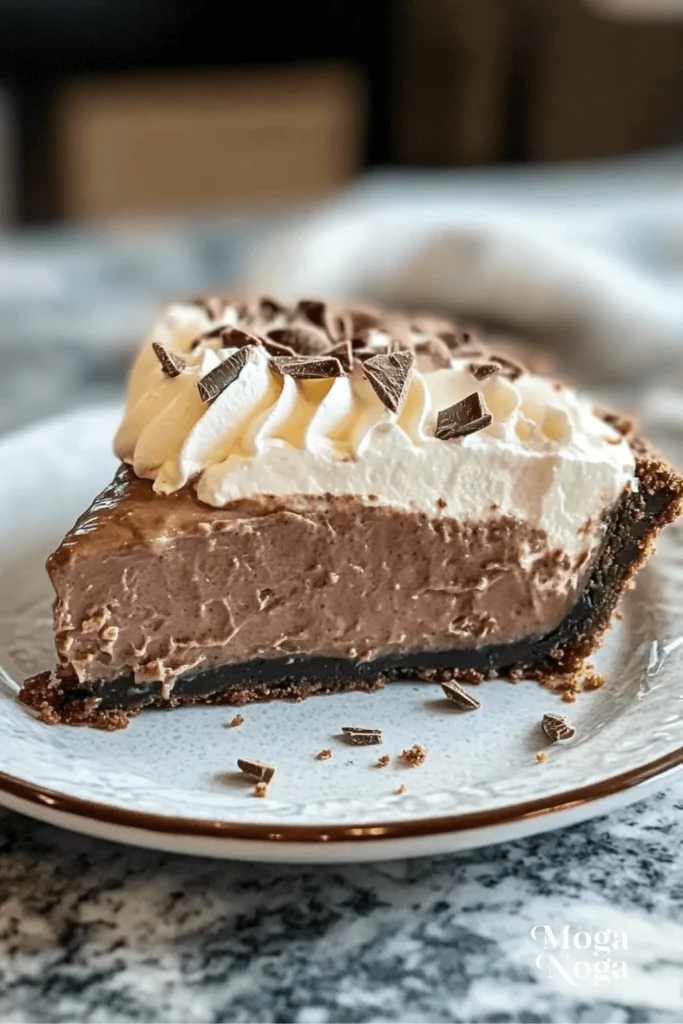
There’s nothing quite like a slice of chocolate cream pie to brighten your day or cap off a meal on a sweet note. This iconic dessert perfectly blends a buttery, flaky crust, rich and creamy chocolate filling, and a light, fluffy topping. Whether you’re preparing it for a special celebration, a casual family dinner, or to treat yourself, this pie makes every occasion feel a little more special. In this post, we’ll walk you through everything you need to know to make the perfect chocolate cream pie, from the detailed steps of the recipe to expert tips, variations, and serving suggestions. Let’s dive in!
Table of Contents
Why You’ll Love This Recipe
If you’ve never made a chocolate cream pie, you’re in for a treat. Here are a few reasons why this dessert is sure to become a household favorite:
- It’s a Crowd-Pleaser: Chocolate cream pie is a classic for a reason—people of all ages love it. Whether you’re serving it at a holiday gathering or a weekend potluck, it’s almost guaranteed to be the first dessert to disappear.
- Simple Ingredients, Extraordinary Results: Despite its impressive flavor and texture, this pie doesn’t require fancy or hard-to-find ingredients. Most items are pantry staples like eggs, milk, sugar, and cocoa powder.
- Customizable: This recipe is versatile enough to suit your preferences. Want to make it extra rich? Use dark chocolate. Prefer a lighter flavor? Stick to milk chocolate. Gluten-free? Swap out the crust for a gluten-free alternative.
- Make-Ahead Friendly: Chocolate cream pie is the ultimate make-ahead dessert. You can prepare it the day before an event; it’ll only taste better as the flavors meld in the fridge.
Detailed Ingredients and Instructions
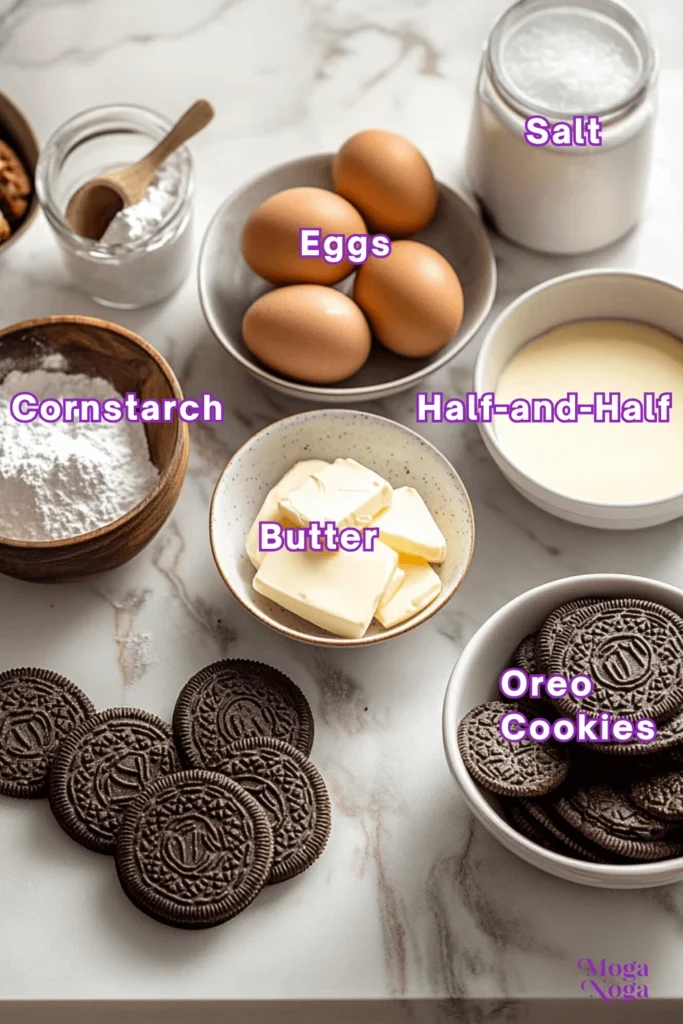
Before we get into the detailed step-by-step process, let’s look at the essential ingredients that make this pie so delicious.
Ingredients for the Crust
- All-purpose flour (or gluten-free flour for a GF option)
- Butter (unsalted, cold, and cubed)
- A pinch of salt
- Ice water
Ingredients for the Filling
- Whole milk (for a creamy texture, but you can substitute with a non-dairy alternative if needed)
- Granulated sugar
- Cocoa powder (use high-quality for the best flavor)
- Cornstarch (to thicken the Filling)
- Egg yolks (for richness)
- Semi-sweet or dark chocolate (chopped into small pieces)
- Vanilla extract
Ingredients for the Topping
- Heavy cream
- Powdered sugar
- Vanilla extract
Instructions
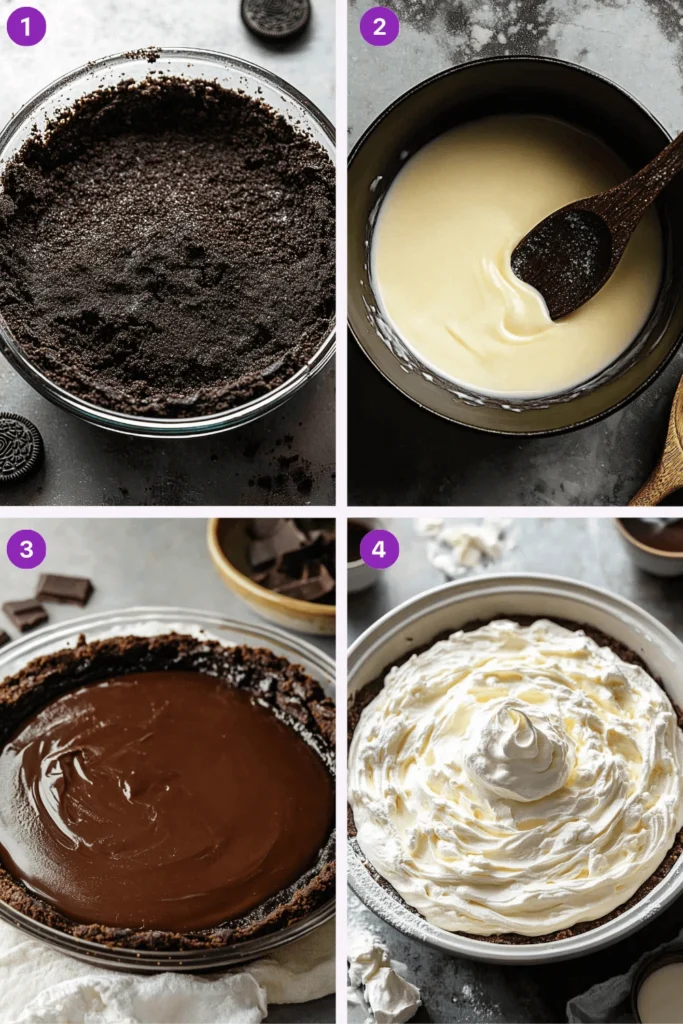
- Prepare the Crust: Start by making the pie crust. Combine the flour and salt in a mixing bowl, then cut in the cold butter using a pastry cutter or your fingers until the mixture resembles coarse crumbs. Gradually add ice water, one tablespoon at a time, until the dough comes together. Roll it out on a floured surface and transfer it to a pie dish. Trim and crimp the edges, then blind bake the crust at 375°F until golden. Let it cool completely.
- Make the Chocolate Filling: In a medium saucepan, whisk together the sugar, cocoa powder, and cornstarch. Gradually add the milk while whisking constantly to avoid lumps. Place the saucepan over medium heat and stir until the mixture thickens and bubbles. Reduce the heat and cook for another 1-2 minutes.
- Temper the Egg Yolks: Lightly beat the egg yolks in a separate bowl. Slowly pour a small amount of the hot milk mixture into the yolks while whisking vigorously to prevent curdling. Once combined, pour the egg yolk mixture back into the saucepan. Cook for another 2 minutes, stirring constantly, until thickened.
- Add Chocolate and Vanilla: Remove the saucepan from heat and stir in the chopped chocolate and vanilla extract until smooth. Pour the Filling into the cooled crust and spread it evenly. Cover with plastic wrap, pressing it directly onto the surface to prevent skin from forming, and refrigerate for at least 4 hours or overnight.
- Whip the Cream: Just before serving, whip the heavy cream with powdered sugar and vanilla extract until soft peaks form. Spread or pipe the whipped cream over the chilled pie and garnish with chocolate shavings if desired.
Tips, Variations, and Storage Options
Making an excellent chocolate cream pie doesn’t have to be intimidating. Here are some tips to help you along the way:
- Keep Your Ingredients Cold: When working with the pie crust, make sure your butter and water are cold. This ensures a flaky texture.
- Blind Bake for Perfection: Blind baking the crust helps prevent a soggy bottom, especially with a creamy filling like this one. To blind bake, use pie weights or dried beans to hold the crust down as it bakes.
- Flavor Boosts: Add a pinch of instant espresso powder to the chocolate filling for a deeper, richer flavor.
- Topping Alternatives: If you’re not a fan of whipped cream, try topping your pie with meringue or even a layer of marshmallow fluff for a s’mores-inspired twist.
- Storage: This pie keeps well in the refrigerator for up to 3 days. Cover it tightly with plastic wrap or foil to keep it fresh.
Equipment Needed
Making a chocolate cream pie from scratch doesn’t require a kitchen full of gadgets. Here’s a list of the essential tools you’ll need to create this decadent dessert:
- Mixing Bowls: You’ll need a few mixing bowls for preparing the crust, filling, and whipped topping.
- Rolling Pin: This is used to roll out the pie crust evenly.
- Pie Dish: A standard 9-inch pie dish works best for this recipe.
- Saucepan: A medium-sized, heavy-bottomed saucepan is ideal for cooking the chocolate filling.
- Whisk: A sturdy whisk is essential for smooth and lump-free Filling.
- Pastry Cutter or Food Processor: Cut the butter into the flour for the pie crust.
- Plastic Wrap: Useful for chilling the dough and covering the Filling as it sets.
- Pie Weights or Dried Beans: If you’re blind baking the crust, these are necessary to keep it from puffing up.
- Electric Mixer or Hand Whisk: Wash the heavy cream to soft peaks for the topping.
With these tools, you’ll be fully equipped to create the ultimate chocolate cream pie.
Related Recipes
If you love chocolate cream pie, you’ll enjoy these related desserts too. Here’s some inspiration for your next baking adventure:
- French Silk Pie: This no-bake pie is a close cousin to chocolate cream pie, with a mousse-like filling and a graham cracker crust. Perfect for chocolate lovers who prefer a lighter, airier texture.
- Banana Cream Pie: If you like creamy desserts but want something fruity, this classic pie with layers of fresh bananas, custard, and whipped cream is a must-try.
- Chocolate Tart: Try a rich chocolate tart with a buttery shortbread crust for a more sophisticated twist on chocolate desserts. It’s elegant enough for dinner parties yet easy to make.
- Chocolate Pudding Cups: Sometimes simplicity is best. Homemade chocolate pudding served in individual cups with whipped cream on top offers a quick and nostalgic treat.
- S’mores Pie: Combine the best chocolate cream pie with the flavors of campfire s’mores. This pie features a graham cracker crust, a chocolate filling, and a toasted marshmallow topping.
Each recipe brings something unique while still delivering that rich, chocolatey goodness you crave.
Pairing/Serving Suggestions
Chocolate cream pie is a versatile dessert that pairs wonderfully with various sides and drinks. Here are some ideas to elevate your serving experience:
- Drinks to Pair:
- A hot coffee or espresso balances the pie’s sweetness and enhances the chocolate flavor.
- For a special occasion, serve the pie with a glass of red wine—something like a Syrah or a Cabernet Sauvignon complements the richness beautifully.
- Try a creamy vanilla or caramel milkshake for non-alcoholic options as a fun pairing.
- Sides and Toppings:
- A scoop of vanilla ice cream on the side makes this dessert even more indulgent. The cold, creamy ice cream contrasts perfectly with the rich chocolate filling.
- Sprinkle crushed nuts, like hazelnuts or pecans, over the whipped topping for added texture and a nutty flavor.
- Occasion-Specific Ideas:
- For a festive touch, add some colorful sprinkles or edible gold dust on top of the whipped cream during holidays or special celebrations.
- Serve mini individual chocolate cream pies at a party or gathering for a personalized dessert experience.
Whether you enjoy you’re it alone or with a delicious pairing, chocolate cream pie is guaranteed to delight.
Frequently Asked Questions
Here are some common questions about chocolate cream pie and their answers to help you along the way:
1. Can I make chocolate cream pie ahead of time?
Absolutely! Chocolate cream pie is better when made in advance. You can prepare the crust, fill it up to a day ahead, and refrigerate it overnight. Add the whipped topping just before serving for the best presentation.
2. Can I use store-bought crust instead of making it from scratch?
Yes! While a homemade crust offers the best flavor and texture, a store-bought crust works fine if you’re short on time or prefer convenience.
3. What’s the best chocolate type for the Filling?
High-quality semi-sweet or dark chocolate is ideal for a rich and decadent flavor. If you prefer a sweeter filling, you can use milk chocolate instead.
4. How do I prevent the Filling from forming a skin while it chills?
To avoid skin forming on the surface of the Filling, press a piece of plastic wrap directly onto the surface while it cools in the refrigerator.
5. Can I freeze chocolate cream pie?
Technically, yes, but it’s not recommended. Freezing can cause the Filling to separate, and the whipped cream topping doesn’t freeze well. If you need to freeze it, do so without the whipped topping and add fresh after thawing.
6. Can I make this recipe vegan or dairy-free?
Yes, with some adjustments! Use plant-based butter for the crust, almond or oat milk for the Filling, and coconut cream whipped topping instead of heavy cream. Be sure to use vegan chocolate as well.
Nutrition Information
If you’re curious about the nutritional breakdown of chocolate cream pie, here’s a general idea based on a standard recipe with eight servings. Please note that these values are approximate and may vary depending on the specific ingredients and portion sizes:
- Calories: Approximately 400–450 per slice
- Protein: 5–6 grams
- Carbohydrates: 40–45 grams
- Fats: 25–30 grams (with a balance of saturated fats from the cream and butter)
- Fiber: 2–3 grams (thanks to the chocolate)
- Sugar: 25–30 grams
While chocolate cream pie isn’t a “light” dessert, it’s a treat worth indulging in occasionally. You can also make modifications, like using a lighter whipped topping or reducing the sugar in the Filling, to suit your dietary preferences.
Seasonal and Occasion Variations
One of the best things about chocolate cream pie is its versatility. With just a few tweaks, you can adapt it for various seasons, holidays, or special occasions. Here are some ideas to inspire you:
- Spring: Add a fresh, fruity twist by incorporating a layer of sliced strawberries or raspberries between the crust and the chocolate filling. Their natural tartness pairs wonderfully with the rich chocolate.
- Summer: Serve chilled mini versions of chocolate cream pie in mason jars or dessert cups for an easy, no-fuss summer treat. For a refreshing finish, top with a dollop of whipped cream and fresh berries.
- Fall: Infuse warm flavors into the pie by adding a hint of cinnamon or nutmeg to the crust. For an autumn-inspired upgrade, you could also drizzle salted caramel over the whipped topping.
- Winter: Garnish the pie with crushed peppermint candies or candy canes for a festive holiday vibe. This is perfect for Christmas gatherings or winter celebrations.
- Valentine’s Day: Make the pie extra romantic by shaping the crust into a heart or adding chocolate-covered strawberries. You can also pipe heart shapes with whipped cream for a decorative touch.
- Birthday Celebrations: Sprinkle colorful confetti or edible glitter on top of the whipped cream to make the pie party-ready.
These variations allow you to enjoy chocolate cream pie year-round, no matter the occasion.
My Recipe Tips
Here are some tried-and-true tips to help you make the best chocolate cream pie every time:
- Don’t Overwork the Dough: When making the pie crust, handle the dough as little as possible to keep it tender and flaky. Overworking it can result in a tough crust.
- Use a Double Boiler for the Chocolate: If you’re worried about scorching the chocolate while making the Filling, consider melting it in a double boiler before adding it. This ensures a smooth, velvety texture.
- Chill the Filling Thoroughly: Patience is key! Allow the Filling to set entirely in the refrigerator for at least four hours (or overnight, if possible). This helps the flavors meld and makes slicing the pie much more straightforward.
- Adjust Sweetness to Taste: Depending on the chocolate you use, you may want to adjust the amount of sugar in the Filling. Taste as you go, especially if you’re using dark chocolate.
- Pipe the Whipped Cream for a Fancy Look: Instead of spreading the whipped cream with a spatula, try piping it on top with a star tip for a bakery-style presentation.
- Garnish Creatively: Chocolate shavings, cocoa powder, or even a dusting of powdered sugar can add the perfect finishing touch.
Following these tips will ensure that your chocolate cream pie tastes fantastic and looks professional!
Conclusion
The chocolate cream pie is among the desserts that tick every box: rich, smooth, creamy, satisfying, and incredibly versatile. Suppose you are serving it on occasion or simply enjoying a slice during an evening of peace in your home. This pie is sure to delight everyone who has a bite.
The combination of a flaky crust with a rich chocolate filling and fluffy whipped topping makes for an elegant dessert, yet easy to make. In addition, with all the tricks and variations or pairings we’ve discussed, it is possible to customize the recipe to fit any occasion or taste.
What is it you’re waiting for? It’s time to lace into your favorite slacks, collect all the ingredients, and prepare the chocolate cream pie. Your tastes will be delighted. Don’t forget to check out the other recipes below for more sweet ideas!
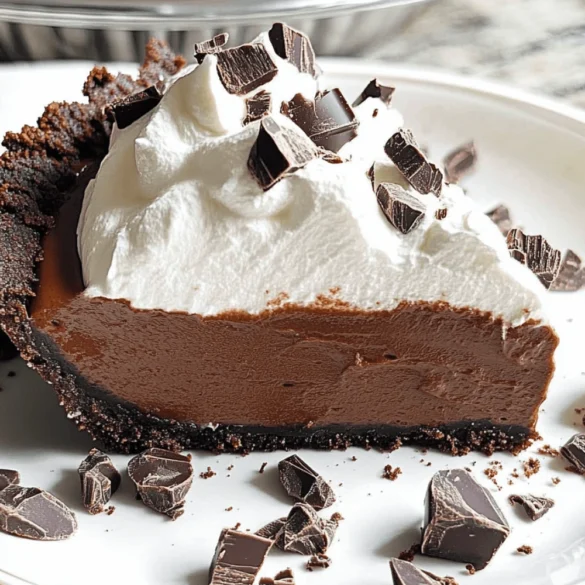
🍫 Chocolate Cream Pie 🥧✨
Ingredients
For the Crust:
- 1 1/2 cups (150g) graham cracker crumbs or chocolate cookie crumbs
- 1/4 cup (50g) granulated sugar
- 6 tablespoons (85g) unsalted butter, melted
For the Chocolate Filling:
- 2/3 cup (130g) granulated sugar
- 1/4 cup (30g) cornstarch
- 1/4 teaspoon salt
- 3 cups (720ml) whole milk
- 4 large egg yolks
- 6 ounces (170g) semi-sweet chocolate, chopped
- 2 tablespoons (30g) unsalted butter
- 1 teaspoon vanilla extract
For the Whipped Cream Topping:
- 1 cup (240ml) heavy cream, chilled
- 2 tablespoons (15g) powdered sugar
- 1/2 teaspoon vanilla extract
- Chocolate shavings or curls (optional, for garnish)
Instructions
- Prepare the Crust:
- Preheat your oven to 350°F (175°C).
- In a mixing bowl, combine the graham cracker crumbs (or chocolate cookie crumbs), sugar, and melted butter. Mix until the texture resembles wet sand.
- Press the mixture evenly into a 9-inch pie dish, covering the bottom and sides.
- Bake for 8-10 minutes, then let it cool completely.
- Make the Chocolate Filling:
- In a medium saucepan, whisk together sugar, cornstarch, and salt. Gradually add milk, whisking to combine.
- Place the saucepan over medium heat and cook, stirring constantly, until the mixture thickens and begins to bubble (about 5-7 minutes).
- In a separate bowl, whisk the egg yolks. Slowly add about 1/2 cup of the hot milk mixture to the yolks, whisking constantly to temper them.
- Pour the tempered yolks back into the saucepan and continue to cook for 2-3 minutes, stirring, until the mixture is thick and smooth.
- Remove from heat and stir in chopped chocolate, butter, and vanilla extract until fully melted and smooth.
- Assemble the Pie:
- Pour the chocolate filling into the cooled crust, spreading it evenly.
- Cover with plastic wrap, pressing the wrap directly onto the surface to prevent a skin from forming. Refrigerate for at least 4 hours or overnight.
- Make the Whipped Cream Topping:
- In a chilled bowl, whip the heavy cream, powdered sugar, and vanilla extract until soft peaks form.
- Finish and Serve:
- Spread or pipe the whipped cream over the chilled chocolate filling. Garnish with chocolate shavings or curls if desired.
- Slice and serve. Store leftovers in the refrigerator for up to 3 days.

